![]() The
different shaped marquee tools are used to select parts of an image, whether
for copying or limiting where actions within the image can occur Different selections can be merged together
to create different shapes.
The
different shaped marquee tools are used to select parts of an image, whether
for copying or limiting where actions within the image can occur Different selections can be merged together
to create different shapes.
The top icon is the Rectangular Marquee for rectangular and square shapes. The second is the Elliptical Marquee for oval and circular shapes. For these two either select them from the menu or press the shortcut key M.
The next two are the Single Row and Single Column Marquees. These create a selection one pixel thick either horizontally or vertically on an image wherever you choose.
Use
To use the marquee tool select for example the Rectangular Marquee Tool and drag a rectangle selection across your chosen image like so:

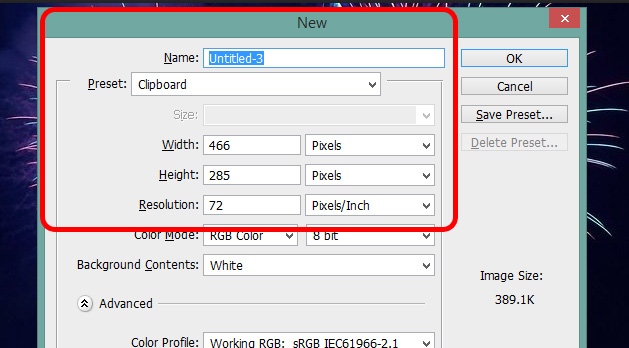
At any time to Deselect or cancel your selection for any reason just use Ctrl+D. With this selection chosen you could copy and paste that section of the image either into a new image of its own, or into an existing image. Lets create a new image. Ctrl+C will copy your selection to the clipboard. Now when you go to create a new image (Ctrl+N or File -> New) it will automatically create an image to the size of your selection.
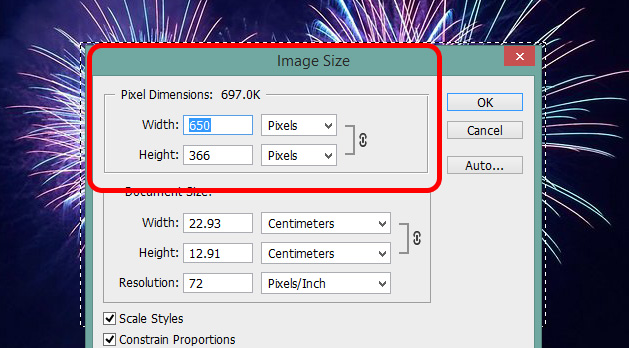
As
you can see my actual image size is 650px x 366px, but if I copy just my
selection, the new image is sized at 466px x 285px automatically.
So when I paste my selection (Ctrl+V) it fits perfectly into the new image with no adjustments needing to be made.

It works the same way with the Elliptical Marquee Tool although of course it won't create a new elliptical shaped image, the image will be rectangular/square.

The above selection becomes:
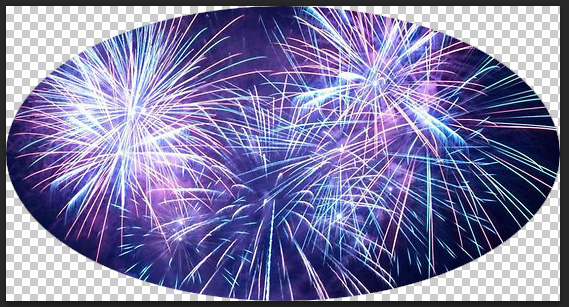
Now if you need for an oval image without any background, make sure your background layer is hidden as mentioned in a previous tutorial, and save the image as either a PNG or GIF file and it will look like this:

If you need to create a perfect square or circle using either of these tools, hold down the Shift key on your keyboard as you drag out your selection.
Multiple Selections Merged or Separate
While creating multiple selections only the first shape you make is possible to be an exact square or circle as making multiple selections also involves using the Shift key.
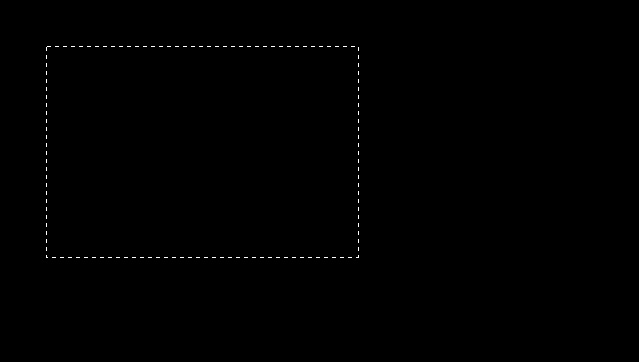
We'll do these multiple selections on a black image to highlight the marquee outlines. First create a rectangle selection.
Then select the Elliptical Marquee Tool. Now hold down the Shift key on your keyboard before you proceed to drag out an oval shape intersecting the rectangle already created. Once you release the oval shape you will see that it automatically merges the two shapes into one selection:

If we were to copy, paste and save this as a PNG image file it would look like this:

Single Row and Single Column Marquee Tools
Let's briefly look at the single column and row marquee tools. As previously explained these select one pixel thick rows and columns on your image and these too can be intersected and overlapped. Let's see this work with the fireworks image again.
Now as the thickness of these selections is already determined you don't need to drag out a shape, just click where you want your column or row. As with the Rectangular and Elliptical tool you can create multiple intersecting selections as with the image below:
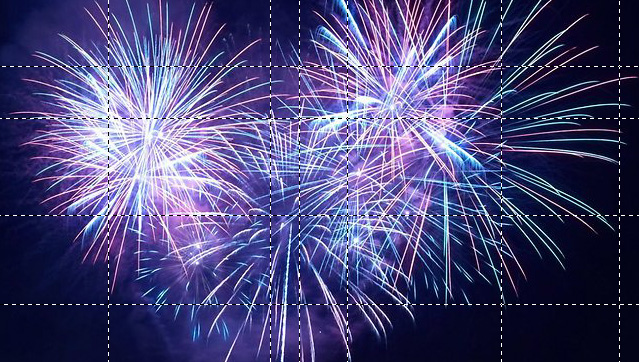
If we copy and paste this you can clearly see the 1 pixel selections:

I find that these tools are particularly useful if you have selected too much of an image and are left with a border of one pixel on any or all sides. Trying to select a single pixel line is difficult otherwise. If you have the patience though, you can also create some interesting effects:

Other Marquee Uses
We have looked at copying and pasting selections but what else can selections be used for?
Inverted Selections
If what you really want is everywhere in the image other than what you have selected, then rather than create multiple selections or use other tools to select that shape, just select the piece or pieces you don't want if that's simpler like in the image below:

Now to select everywhere other than those three circles, either click on Select in the top menu and choose Inverse, or use Shift+Ctrl+i. You will now see that the whole image is selected along with the circles. But after copying and pasting to a new image, you will have all but those circles:
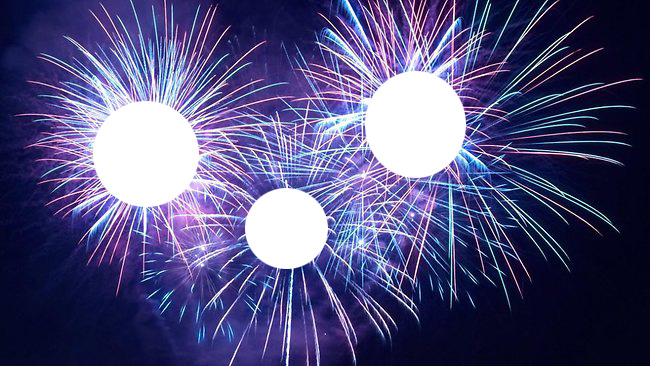
The selection itself was inverted to include everything but the original selection.
Boundaries
If you only want to change a certain selection (or selections) within the image and leave the rest unaffected, the selections you make are the only editable areas of the image.
Let's go back to our original three circles before we inverted our selection. I will now paint a red line intersecting all three circles across the whole image. Look what happens.
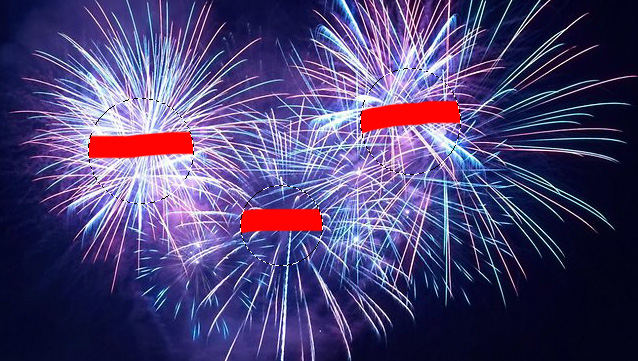
This is very useful for precise editing of images.
You will find other uses for the Marquee Tools, but these cover the most common basics.
Now move on to the Lasso Tool.