![]() The Eyedropper and Colour Sampler Tools are simple methods to allow you to find either a single colour or a group of colours from an image source. The colour picked from your source image is the specific pixel colour that you click on, so be sure that you are choosing the exact color you require. As the ruler and note tools are used much less frequently by most users of Photoshop, we will include a tutorial for these in a more advanced section.
The Eyedropper and Colour Sampler Tools are simple methods to allow you to find either a single colour or a group of colours from an image source. The colour picked from your source image is the specific pixel colour that you click on, so be sure that you are choosing the exact color you require. As the ruler and note tools are used much less frequently by most users of Photoshop, we will include a tutorial for these in a more advanced section.
Eyedropper Tool
The Eyedropper Tool is the simplest way to get a colour from another image source. To do so, click on the Eyedropper Tool icon, and then click anywhere in your source image to choose that colour. You will see your choice of colour appear in the foreground colour box in your toolbar.
Watch the short video below as we select different colours from our chosen stock image and how the foreground colour box changes to match.
When you are trying to choose a specific colour from your source image rather than a general one as above, make sure you zoom into your source image right up to maximum zoom to see the pixels. In our source image below we then zoom right in and choose a selection with multiple colours.

As you will see in the image below we have zoomed in close to the apple in the image, giving us a selection of skin, apple, cushion and wall. At the resolution above the colours seem fairly straight forward, but as the pixels show below there is variation in even the simplest colours:
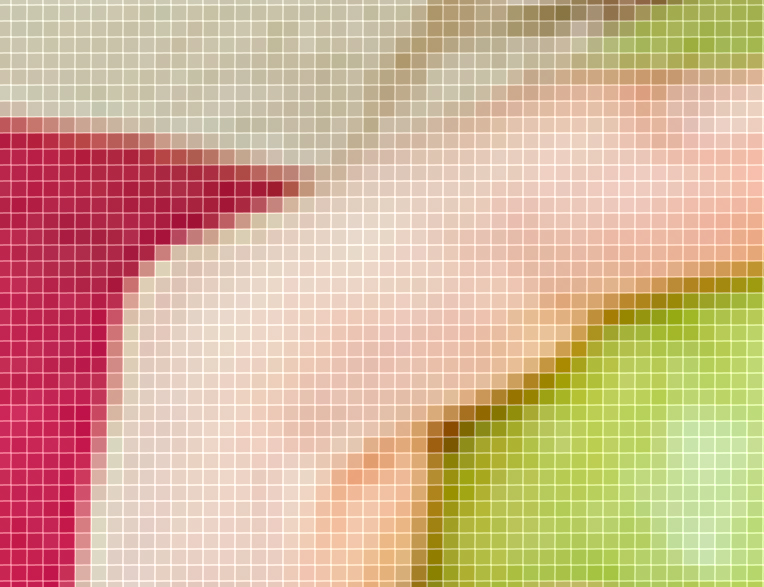
By zooming in like this you will make sure your target colour is picked correctly.
Colour Sampler Tool
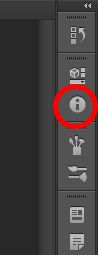
With the Colour Sampler Tool you can choose multiple colour sources to be used at any time. You need to make sure you have access to the Info window. You can select this from the Window menu option and clicking on Info. I prefer to have the Info window on my panel bar on the right hand side of my screen so that when information comes up it is easily viewable.
Unlike the Eyedropper Tool the Colour Sampler Tool doesn't automatically pick the colour and add it to your foreground colour box, instead it adds the information for that colour into the Info window/flyout menu so that you can see the details of the colour.
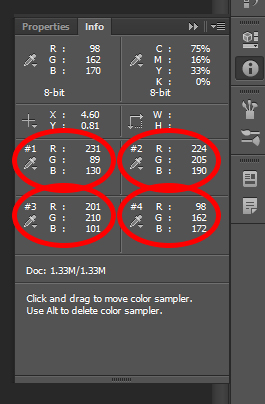
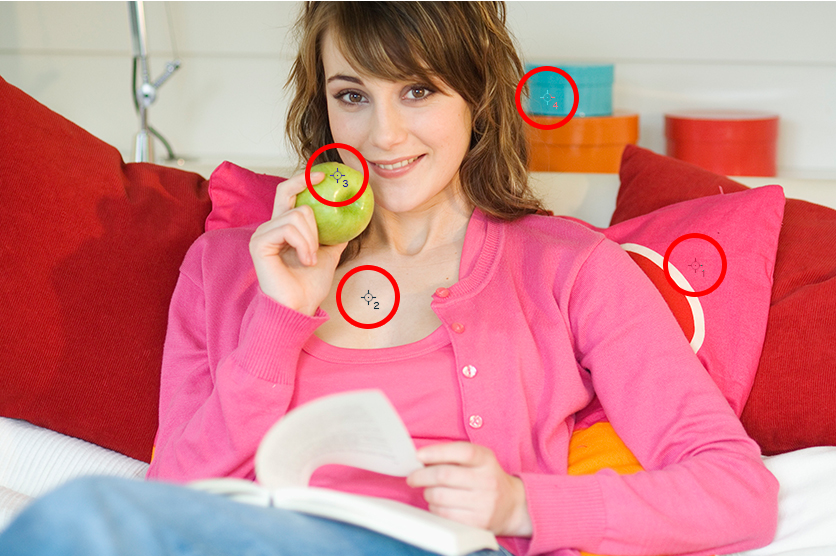
As you will see in our Info box above we have sampled four colours. This is the maximum amount of samples you can have at any given time. Each sample gives us the full RGB breakdown of that colour.
To sample colours from your image use the Sampler Tool as you would the Eyedropper Tool and click on a colour you want the information for. Once you click on the image you will see a target icon with a number (1-4) indicating which colour you have picked.
If you are not happy with the colour you have chosen, you can easily move your target icon to a different place on the image. To move a target icon press the control key on your keyboard and then click on your chosen target icon and drag it to a new position. To delete one just press the Control key and hover over your target icon, then press the Alt key on your keyboard and click on the target icon. In the video below you can see us use the Colour Sampler Tool to get information on different parts of our source image.
Those are the two most common colour pickcer tools.
Our next tutorial is the Healing Tools tutorial.