![]() There are
four tools in the Crop Tools set. Crop,
Perspective Crop, Slice and Slice Select.
As Slice and Slice Select are generally used by more advanced users, we
will include these in a later tutorial.
For now let us focus on the use of the two main cropping tools. Cropping tools are used to cut down an image
to a specific area. If you want to
remove a frame, or other features from the edges of an image just to focus on
the important aspects, cropping is the easiest way to achieve this.
There are
four tools in the Crop Tools set. Crop,
Perspective Crop, Slice and Slice Select.
As Slice and Slice Select are generally used by more advanced users, we
will include these in a later tutorial.
For now let us focus on the use of the two main cropping tools. Cropping tools are used to cut down an image
to a specific area. If you want to
remove a frame, or other features from the edges of an image just to focus on
the important aspects, cropping is the easiest way to achieve this.
Crop Tool
Let us start out with a simple stock photo of a red apple and too much background.

Now click on the Crop Tool icon and you will see some controls will appear around the edge of the image:

By clicking on any of the corner or side controls you can drag in your desired crop to focus on the apple with less of the background.
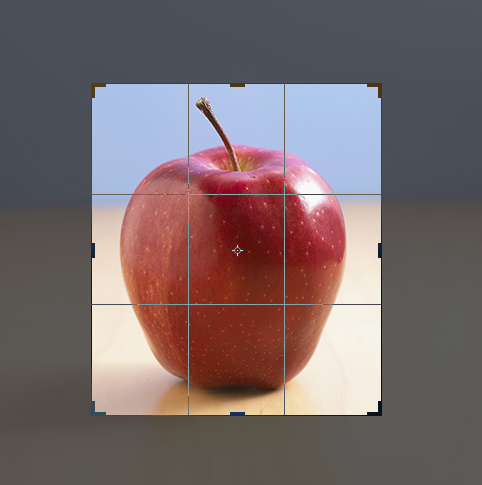
As you can see in my cropping in the image above, the bit that remains in full colour is your cropped focus, while the rest is darkened so that you can clearly preview your cropped image. If you're happy with your desired crop just hit the Enter key on your keyboard, or click on the tick in the tool menu. If you want to move the image around within your desired crop size, just click within the crop area and move the image and accept it using either the Enter key or tick as previously mentioned:
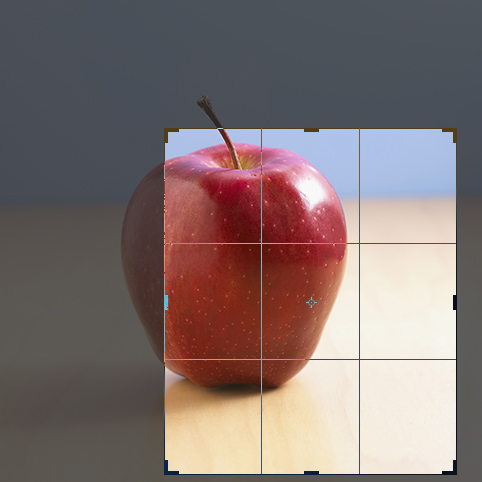
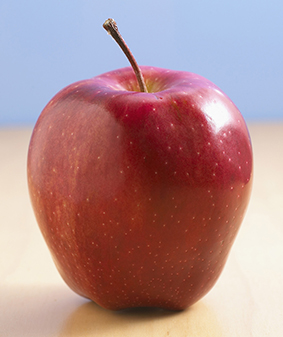
We
will stick with our original cropped image, and this is the result after
accepting:
To see the whole process, view this short video file:
Perspective Crop Tool
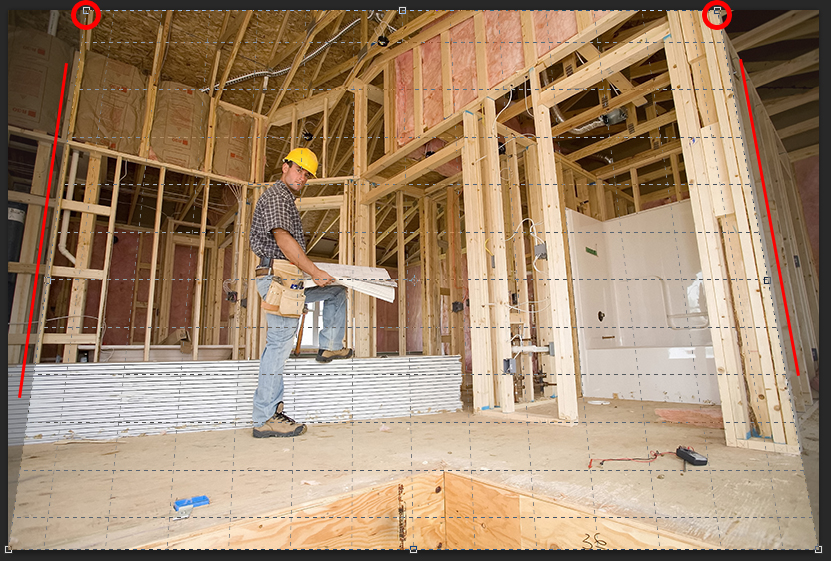
The Perspective Crop Tool is a new tool with the CS6 version of Photoshop. What this tool allows you to do is correct perspective issues that often occur in photographs, where verticals are most often distorted as in the photo below:

See how the verticals of the wood frame on either side appear diagonal? This is due to the perspective from the angle at which the photo was taken, but with this tool we can return the verticals to how they should be.
When you click on the Perspective Crop Tool icon you will see that this time no controls appear around the edges, so we have to set our own selection. In this case we will select the whole image, but depending on your image you may only want to work with a specific area.

By moving the edge controls you can crop the size of your selection, but to correct the perspective we need to use the corner controls. The process is very simple in this case. Simply drag the top corner controls so that the vertical edges of your crop selection mirror the diagonal angle in the verticals in the image on either side as below:
As you can see above the top corner controls have been moved in to match the angles of the "vertical" lines in the photo. The red lines mimic those same angles to make it clearer. Also the background that you have now cropped out appears slightly darker in colour as with the normal Crop Tool.
If at any time you cannot see the grid while using the crop tool be sure to click on the tickbox for "Show Grid" in the toolbar:
![]()
To accept your crop either press the Enter key on your keyboard or click on the tick in the tool menu.

Now as perspective cropping is not an exact science you will see that the image appears slightly squashed vertically, but the verticals have now been rectified. To amend the "squashing" effect, simply use the Move Tool to free transform the image and stretch it to an accurate dimension. See our Move Tool tutorial for more details on how to do that. If you are using a protected image you may have to duplicate the background layer.

To see the whole process please watch this short video:
That's the basics of using the two most common Cropping Tools.
Our next tutorial is about using the Eyedropper and Colour Sampler Tools.